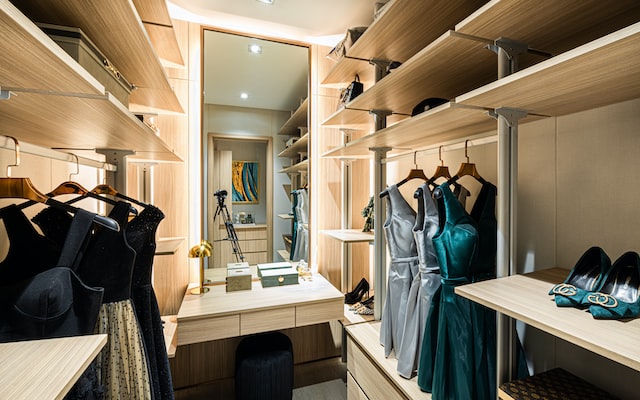
A closet organizer can help you in using your wardrobe effectively. It would help if you remembered that with the help of a closet organizer, you could use the entire space in your closet. Instead of buying expensive closet organizers in various stores, creating your own is a much better option. When you can create your own, you will be able to do so exactly as per the needs of your closet and the measurements of your closet. This will automatically help you in maximizing efficiency.
We will share with you the exact procedure required to create a closet organizer. You will need some raw materials as well as tools as well.
Things needed:
- Pre-drilled Panels
- Cutting tools
- Marking tools
- Handheld saw
- Safety gear
- Drilling machine
- Screws
Only once you gather all of these will it become easier for you to start the work.
1. Wire borders:
If you’re planning to add borders to any panel, you have to get the wire basket and cut the borders from it. You can also include the wire basket within the panel to increase the efficiency or utilization of the space.
2. Marking the panels:
After that, you must mark the exact size of the panels you need. With the help of this marking, it will become easier for you to cut the panels.
3. Making the cuts with the help of a handheld saw:
After that, you can use the handheld saw to make the cuts. This will automatically help you create the panels in the size you want.
4. Smoothening the edges:
You have to smoothen the edges; if you want, apply plywood or ceramic on the edges to give it a good and finished look.
5. Attaching the panels:
You have to use the drill machine after to attach the panels. This will ensure that you can create a proper structure from it.
You can use the bolts to attach them.
6. Attaching screw caps:
After that, you must use the screw heads to hide them. Next, you have to press them over the screws. This will ensure that the bolts are no longer visible.
7. Bolting the pieces together:
To create a proper frame, you must bolt the pieces together. This will ensure that you can provide them with structural strength as well.
8. Installation:
You have to after that install it in the closet. Then, when installing it, you must again use the bolts to put them into the closet.
9. Adding the accessories:
After that, you can add whichever accessories you want. For example, you can add wire baskets, or you can add side rails, or you can add other rods which you want to put in your closet. This will ensure that you can get the closet organizer exactly in the space you want. The accessories will be added exactly as per your requirements. Then, you can add the accessories depending on the available space and what you need to use that space for. This will help you efficiently utilize the closet space.
As you can see, it is relatively easy to create a closet organizer. All you need to do is follow the simple procedure; after that, it will become easier for you to create a closet organizer.